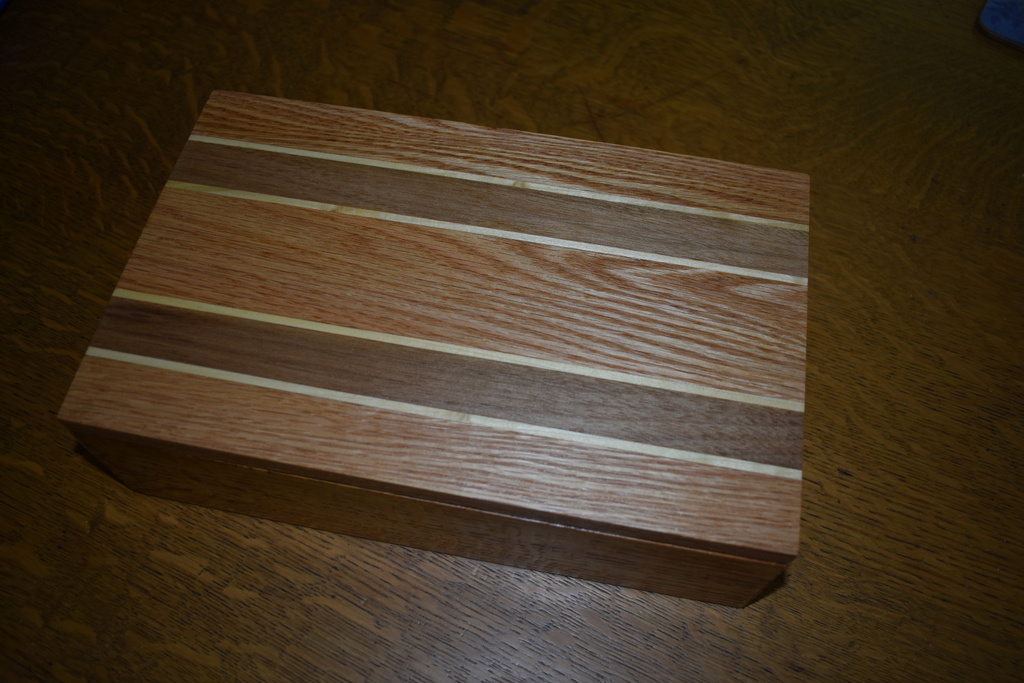
Wood: Oak, walnut, poplar, cherry plywood
Finish: Shellac
There once was a woman named Tina
I always was glad when I'd seen her.
This isn't a joke,
She gave me an oak
'Cause she needed her yard to be cleaner.
OK, I used to have a next-door neighbor named Tina. She had a very large oak tree in her back yard, and one day decided to have it removed. So, she had a tree company cut it down and slice it up into 16-inch sections. But she didn't want them trampling through her garden to haul it out of there. She told me I could have the wood if I was able to get it out of her yard without messing things up. I was happy to have it, since this was back in the days where I spent all summer cutting and stacking wood and all winter burning it in my wood stove. It was also sort of convenient in that the fence between our properties had very large holes in it. I just had to make the logs small enough to lift so I could carry them over and throw them through the holes. Did I mention that this was a really big oak tree? Anyway, it took about six months and I had to have my son come over and help me wrap up the project. But it got done.
As a souvenir, I decided to find a couple of pieces with nice grain and make her a box. But I never got to finish the box because one day someone told me that she had died. I did keep the pieces and carried them to my townhouse when I sold the farmhouse, and eventually it made its way to the east coast. And I was making a bunch of boxes, so I thought I would add this to the queue. Not much to it, just front, back, and sides. But I had thin cherry plywood for box bottoms, and enough scrap around that I thought it would look OK with a top made from several kinds of wood in glued-up strips. I had a one-inch-square piece of walnut from a repair job, and there are always a lot of thin pieces of poplar in my shop. The oak used in the top is kind of boring and really does not match the box body oak at all, but I am just making this for my own use - so, no big deal.
Anyway, I cleaned up the corners on the "guillotine" (my sliding miter trimmer) and fit it all together, measured up the dimensions and cut out a suitable piece of cherry plywood as a bottom with my ryoba. That was the easy part. I spent a lot of time thinking about what the top should look like (now that I had a size for it). In the end, I just used some half-inch oak stock that I had around for the front, back, and middle. These pieces are separated by one-inch wide walnut strips sandwiched between very thin poplar. So, nine sticks had to be glued together to make the top. Lots of edge work with my smallest Millers Falls bench plane, which seems to be the only one I use any more. It took about a week to finish the glue-up since I only made one joint a day, so as to give it time to set.
After that, it was just cleaning up the surfaces and making them as smooth as possible. I added a couple of small brass hinges.
Then, on to the usual uncountable coats of lemon shellac to build up a polishable finish. Then, rub it out with pumice and rottenstone and wax it. There's no finish on the inside, though. I'm not sure what I am going to use this thing for, but at least it's done.